How to Green Every Shot in NBA 2K25 — Complete Shot Meter Guide
Master your release timing, optimize your settings, and start greening consistently in MyCAREER, Rec, Park & Pro-Am
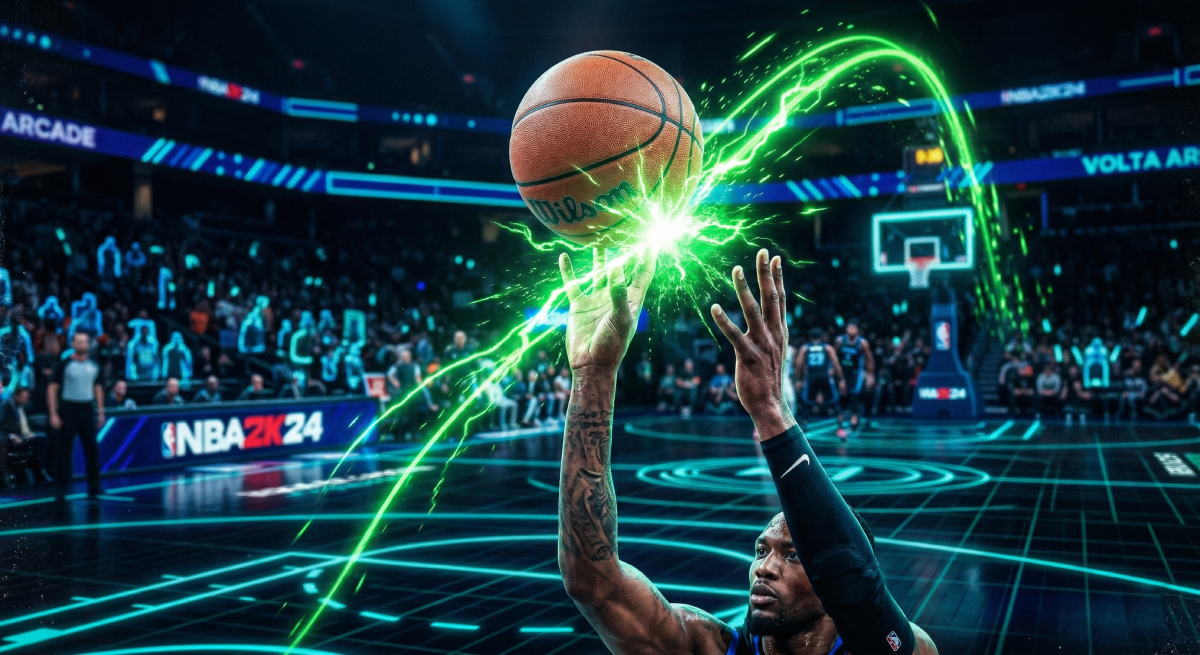
A "green" release is the holy grail of NBA 2K25 shooting. Hit it, and your shot goes in 100% of the time — no RNG, no prayer, just buckets. Miss the green window by a few milliseconds, and you're at the mercy of ratings, contest percentage, and pure luck.
The difference between a player who greens 60% of their shots and one who barely hits 20% isn't talent — it's settings, setup, and practice. This guide covers all three.
Step 1: Turn Off the Shot Meter
This is the single biggest thing you can do to shoot better, and most players resist it.
Turning off the shot meter gives you a roughly 20% larger green window. That's not a rumor — it's been tested extensively by the community and confirmed across button shooting, stick shooting, and rhythm stick shooting. The game literally rewards you for not using the visual crutch.
Why it works: Without the meter, you stop staring at a moving bar and start watching your player's actual shooting animation. You learn the physical release point — the hitch in the elbow, the flick of the wrist — and your timing becomes muscle memory instead of a reaction to on-screen graphics.
How to turn it off:
Go to MyPLAYER → Animations → Customize HUD
Find Shot Meter Shots
Set visibility to Off
Set Shot Feedback visibility to All Shots (so you still see timing grades after each attempt)
Don't panic. Keep the meter on for your first few days to learn the basics. Once you can identify your player's release point by watching the animation, switch it off and never look back.
Step 2: Choose the Right Shot Timing Profile
NBA 2K25 introduced Shot Timing Profiles that let you control how much timing matters vs. player ratings. There are four options:
Profile | What It Does | Best For |
|---|---|---|
Real Player % | Timing doesn't matter; shots based purely on ratings | Complete beginners, offline grinding |
Low Risk-Reward | Timing has small impact; ratings matter more | Casual players still learning |
Normal Risk-Reward | Balanced timing impact; similar to 2K24 | Intermediate players |
High Risk-Reward | Largest green window; badly timed shots punished hard | Competitive players (recommended) |
High Risk-Reward is the move for anyone serious about greening. Yes, your bricks will be uglier when you mistime — but the green window is significantly larger, which means when your timing is even close to perfect, you get rewarded. Combined with meter off, this gives you the absolute widest margin for perfect releases.
How to change it: Go to Settings → Controller Settings → Shot Timing Profile
Step 3: Pick a Jump Shot with a Wide Green Window
Not all jump shots are created equal. The best animations combine fast release speed with a large green window and high defensive immunity. Here are proven setups by height:
Guards Under 6'5"
Component | Selection |
|---|---|
Base | Kyrie Irving |
Upper Release 1 | Kyrie Irving (79%) |
Upper Release 2 | Stephen Curry (21%) |
Release Speed | 4/4 (Max) |
Visual Cue | Set Point |
The Kyrie base is fast, smooth, and has strong defensive immunity. The Curry blend adds a high release point that's hard to contest.
Wings 6'5" – 6'9"
Component | Selection |
|---|---|
Base | Kobe Bryant |
Upper Release 1 | Saddiq Bey (30%) |
Upper Release 2 | Oscar Robertson (70%) |
Release Speed | 3/4 |
Visual Cue | Set Point |
Slightly slower but extremely consistent. Works well for off-dribble and catch-and-shoot situations.
Bigs 6'10" – 7'3"
Component | Selection |
|---|---|
Base | Michael Porter Jr. |
Upper Release 1 | Michael Porter Jr. |
Upper Release 2 | Jaren Jackson Jr. |
Release Speed | 2/4 |
Visual Cue | Push |
Taller builds need a stable arc and a delayed visual cue. Don't force max speed on big men — the timing becomes unreliable.
Step 4: Understand Visual Cues
Visual Cues are new to 2K25 and they determine when your brain thinks "release." You set them in the Jump Shot Creator and they change the reference point for your timing:
Jump — Release as the player leaves the ground (earliest)
Set Point — Release as the player reaches the top of the gather (most popular)
Push — Release as the player pushes the ball forward (latest, best for bigs)
Most competitive players use Set Point because it lines up with the natural peak of the shooting motion. If you feel like you're always releasing late, try Jump. If you're always early, try Push.
Step 5: Get Your Badges Right
Badges directly affect your green window size and shot consistency. These are the ones that matter most:
Badge | Why It Helps You Green |
|---|---|
Limitless Range (HOF) | Maintains green window accuracy from deep three-point range |
Deadeye (HOF) | Keeps your green window wide even when a defender closes out |
Green Machine (Gold) | Consecutively greened shots make the next green window even larger |
Catch & Shoot (HOF) | Boosts accuracy and timing window on catch-and-shoot attempts |
Set Shot Specialist (HOF) | Wider green window on stationary, set-feet jump shots |
Handles for Days (Gold) | Prevents stamina drain from shrinking your green window mid-game |
Stamina is a hidden green killer. NBA 2K25 shrinks your green window as your player gets tired. Handles for Days and smart substitution patterns keep your window consistent through four quarters.
Step 6: Establish Hot Zones
Hot Zones are invisible accuracy multipliers tied to specific spots on the court. If you've shot well from a particular area, it becomes a Hot Zone — and your green window gets a slight boost there.
How to build them fast:
Play MyCAREER games on Pro difficulty
Focus your shots from the corners, wings, and top of the key
Aim for 50%+ from each spot over 20+ attempts
Once established, Hot Zones carry over to online modes
Don't skip this step. Walking into Rec or Park without Hot Zones is handicapping yourself before the game even starts.
Step 7: Your Setup Is Costing You Greens
Here's what separates the guide from every other one you've read: your physical hardware affects your green window more than most badges do.
The Monitor Problem
Most players shoot on TVs with 20–60ms of input lag. That means when you press the shoot button, there's a 20–60 millisecond delay before anything happens on screen. Your green window in 2K25 is roughly 30–50ms wide depending on your settings and badges.
Do the math: if your TV adds 40ms of delay, you need to release the button before you see the correct timing on screen. You're essentially guessing.
A gaming monitor with 1–5ms input lag eliminates this problem entirely. You press the button, the action happens instantly, and your timing becomes reliable and repeatable.
What to Look For in a Gaming Monitor
1ms response time (GtG) — eliminates ghosting on fast animations
120Hz+ refresh rate — matches next-gen console output for smoother motion
Under 5ms input lag — your timing is actually real-time, not delayed
24–27 inch screen — competitive size that keeps the full court in view
Game Mode — make sure it's enabled; it disables post-processing that adds lag
Other Hardware Fixes
Wired controller — Bluetooth adds 4–8ms of latency; a USB cable removes it
Ethernet cable — Wi-Fi introduces packet loss and jitter that cause online timing to fluctuate
Close background apps — downloads and streaming eat bandwidth and cause micro-stutters
The test: Try shooting in an offline MyCAREER game, then hop into a Rec game. If your timing feels completely different, it's not you — it's your setup adding latency. Fix the hardware, and your offline timing transfers to online.
Quick Reference: The Green Checklist
Setting | Recommendation |
|---|---|
Shot Meter | Off (20% green window boost) |
Shot Timing Profile | High Risk-Reward (largest green window) |
Shot Feedback | All Shots visible (see timing + contest %) |
Release Speed | Max for guards, 2–3/4 for bigs |
Visual Cue | Set Point (most popular) or Push for bigs |
Controller | Wired USB (eliminates Bluetooth lag) |
Display | Gaming monitor with Game Mode enabled |
Connection | Ethernet (never Wi-Fi for competitive play) |
Hot Zones | Established before going online |
The Bottom Line
Greening in NBA 2K25 isn't magic — it's a system. Turn the meter off, use High Risk-Reward, pick a proven jump shot, badge up, build your Hot Zones, and fix your hardware setup. Each piece adds a few percentage points to your consistency, and together they're the difference between a player who bricks open looks and one who never misses.
The green window is there. You just have to give yourself every possible advantage to hit it.
Now go practice. The city courts are waiting. 🏀